We had gotten pretty far on the lower back, now it was time to work on the upper back neck piece. The neck is 2 layers, the layer closest to the neck is painted dark on one side and the outer layer has a hole in the middle so you get a little bit of a window effect going. So for the female neck we had been using a heat gun to shape in and it was working, but very slowly. For the male neck my husband decided to just throw it in the oven on broil for like 45 seconds, and WOW that worked so much better.
You can see how much better the shaping is going on the grey oven pieces over the purple heat gun pieces.
So we did the purple one that way as well, and we didn't even need to get a zip tie, or something to mold it around, we just wore heat proof gloves and held it in place.
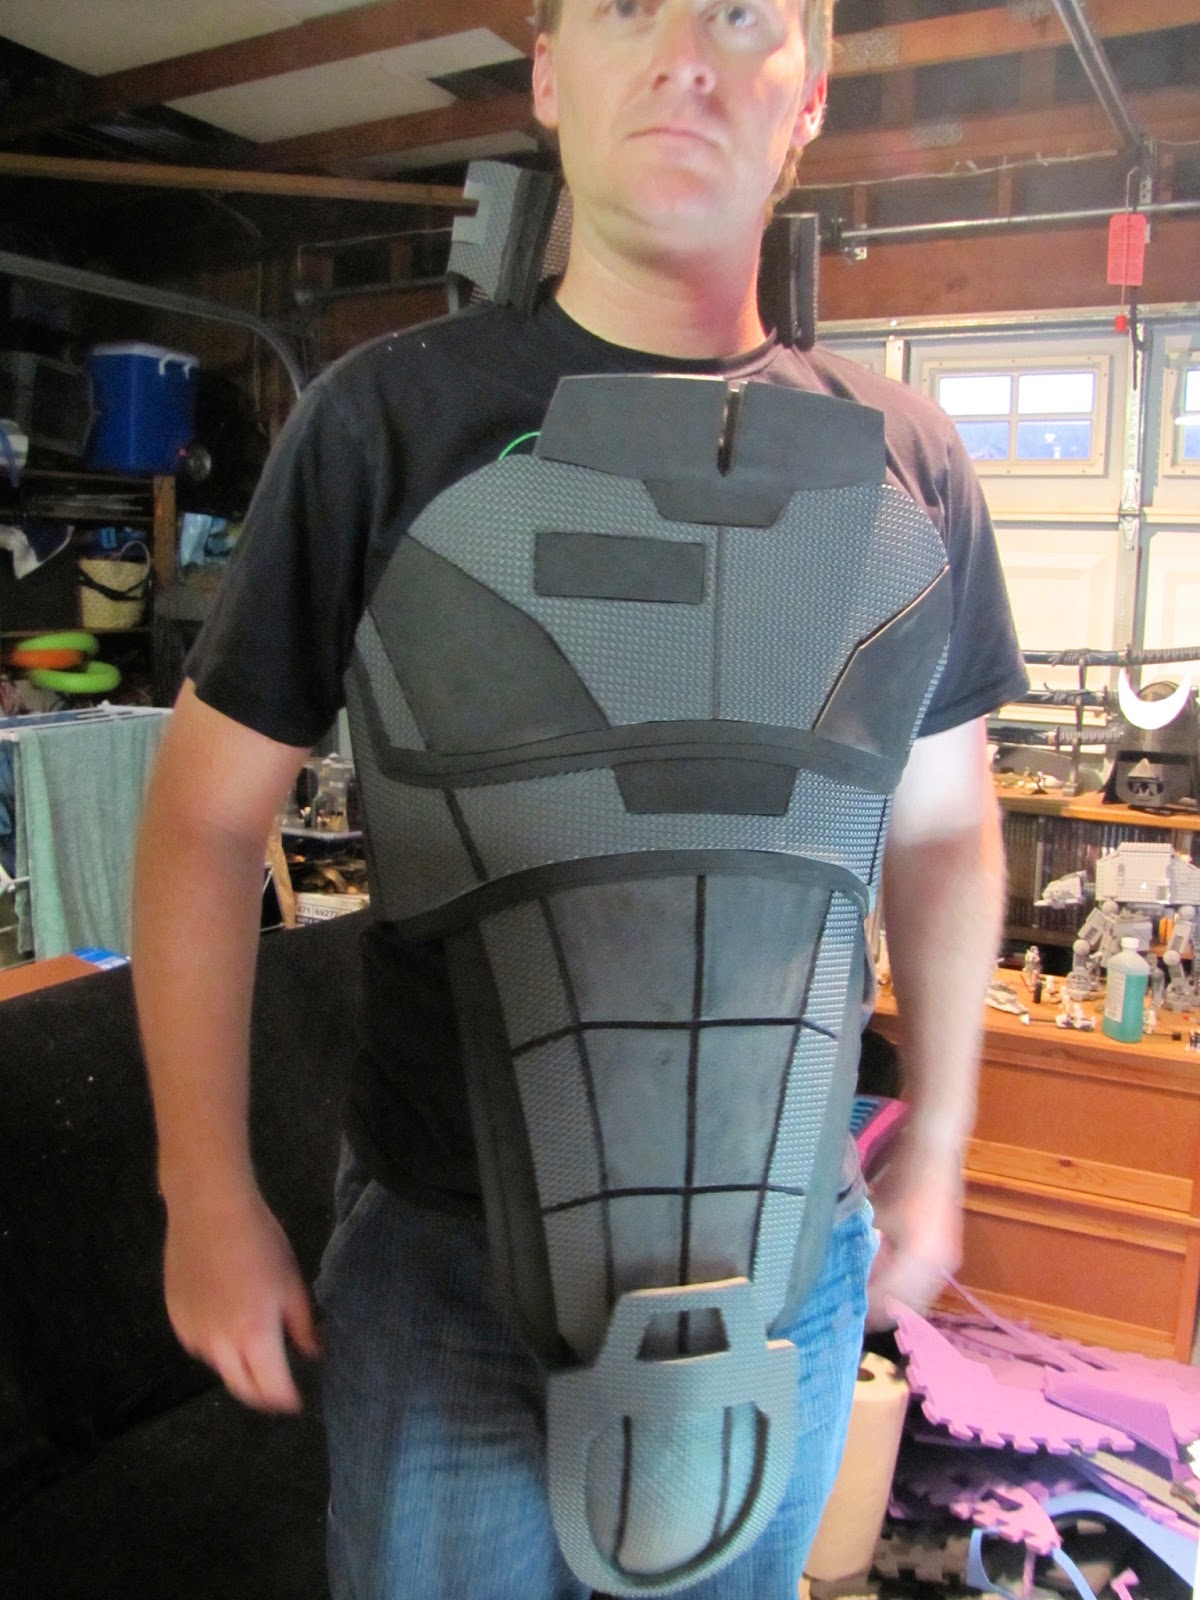
So here is what the male armor looks like so far with the neck (which is still in progress, we haven't glued on all the little bits yet).
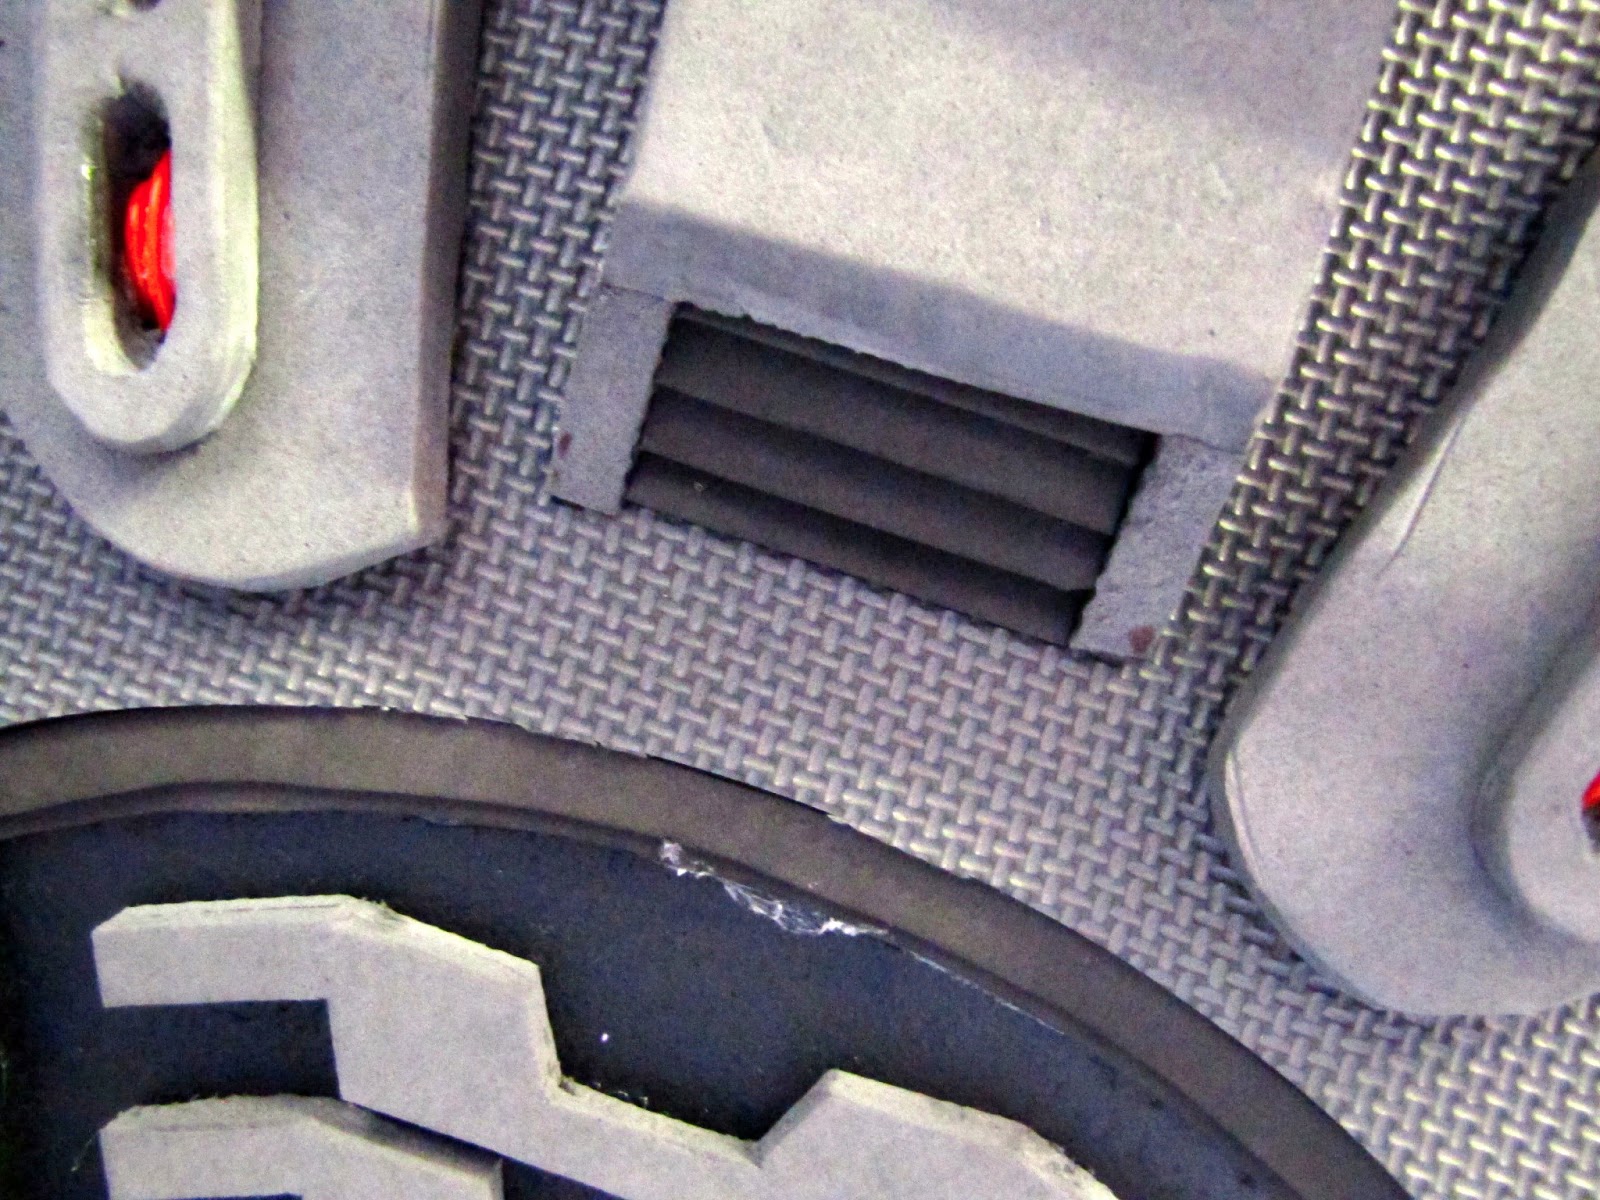
We also added some more detail pieces to the center of the back, the box that contains the light mechanics has little vents or something on the bottom. We did this with the cheap craft foam.


No comments:
Post a Comment